 Athens Photos
 Santorini Photos
 Crete Photos
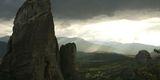 Meteora Photos
 Corfu Photos
Greece >
Photos >
Destinations >
Central Greece >
Trikala >
Moni Metamorfosseos Sotiros >
Saint Varlaam 2
Saint Varlaam 2
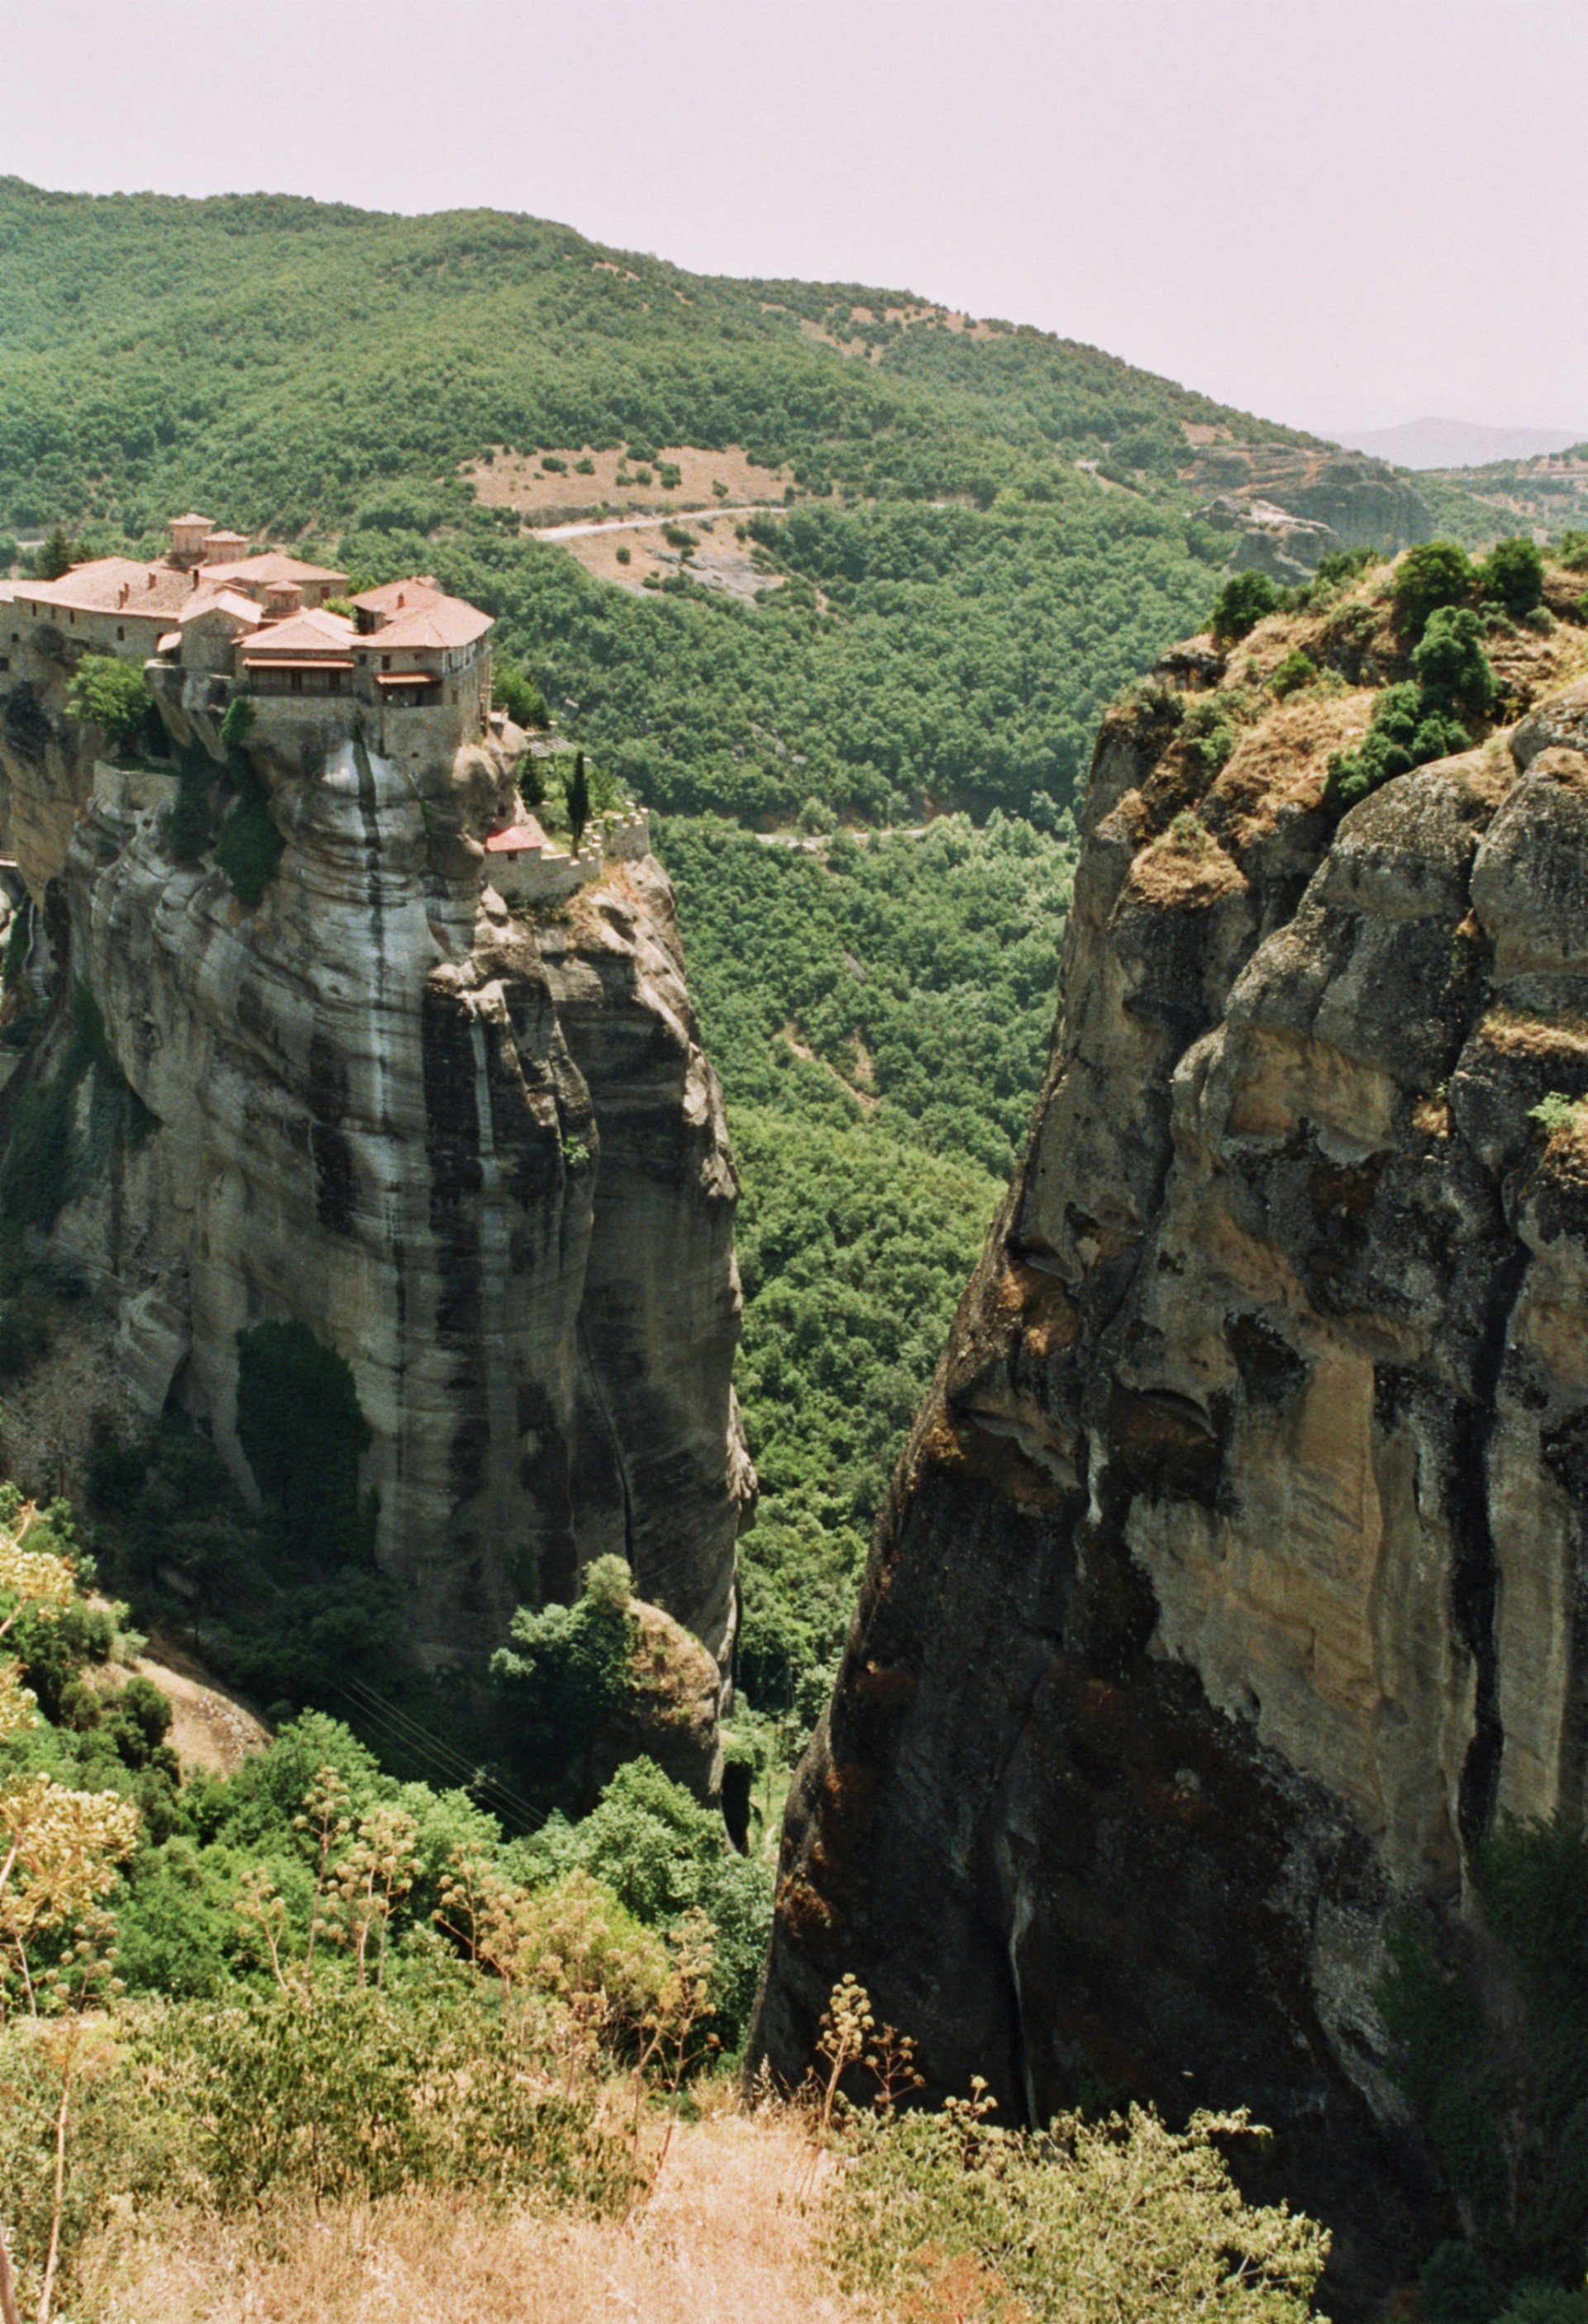
Saint Varlaam 2 by ZNikolic
Location where 'Saint Varlaam 2' photo was taken:

< Back to all Moni Metamorfosseos Sotiros Photos
See also: Moni Metamorfosseos Sotiros Guide, Trikala Guide